
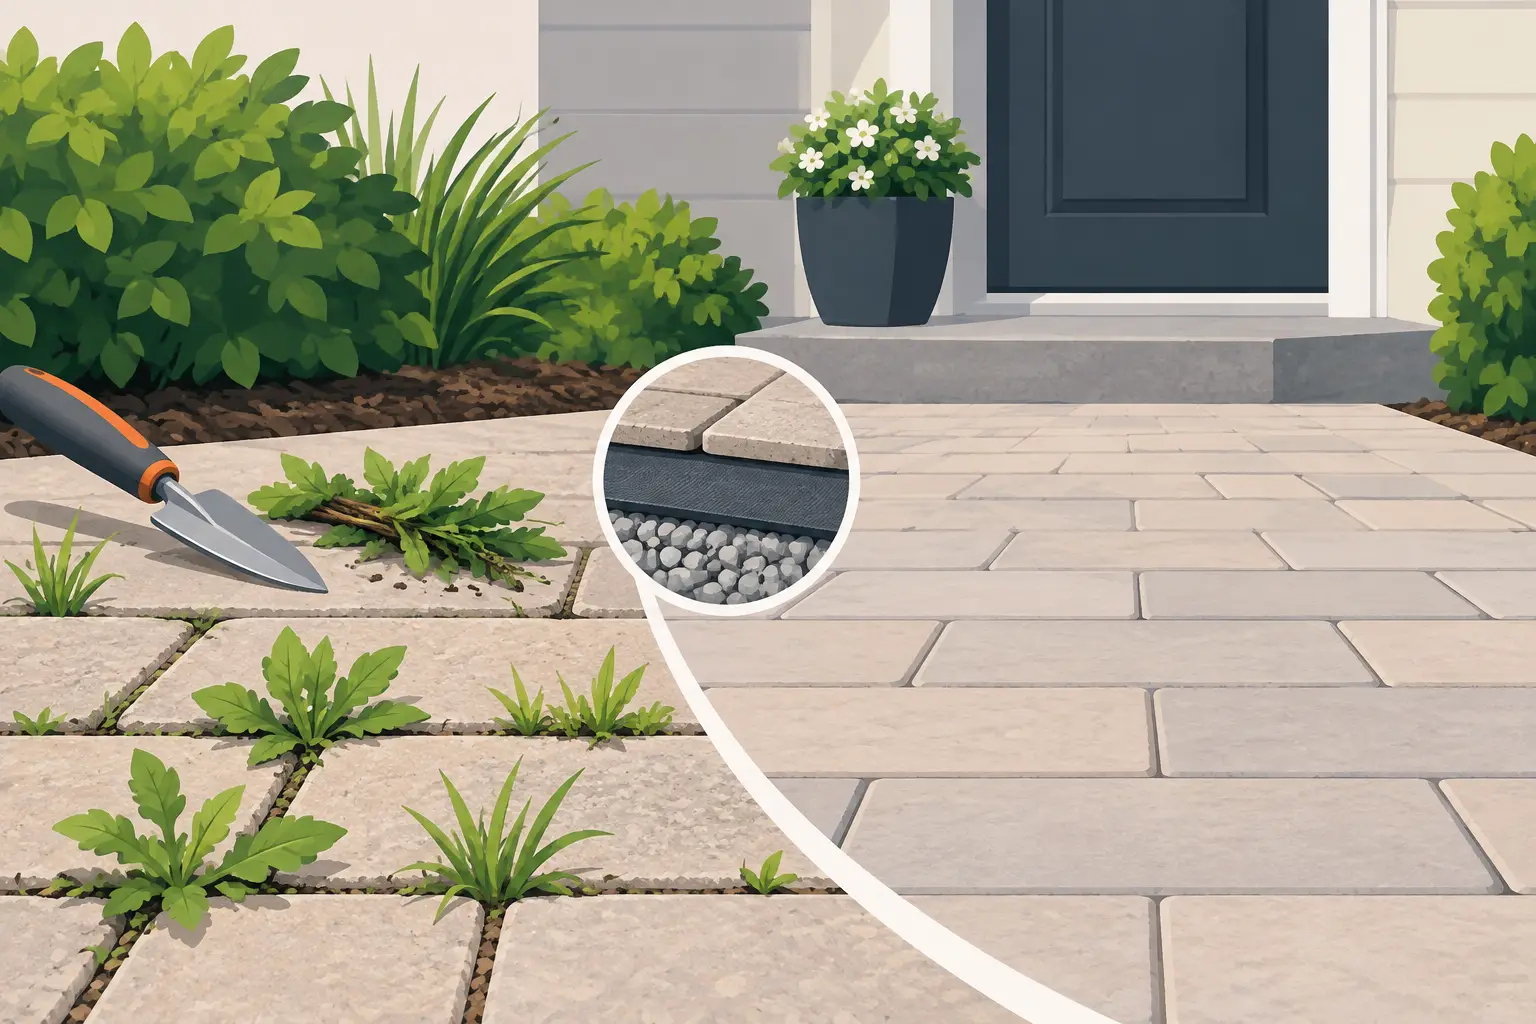
A few green shoots between patio pavers can make an otherwise beautiful outdoor space look neglected quickly. Learning how to prevent paver weeds starts with understanding that most weeds do not push up from beneath the patio. Their seeds usually blow into joints from nearby beds, lawns, and trees, then take root where moisture and organic debris collect.
For homeowners in Newport News and across the Virginia Peninsula, humidity, spring rain, and long growing seasons give weeds plenty of opportunity. The good news is that a properly installed paver patio or walkway, paired with simple ongoing care, can stay clean, stable, and inviting for years.
Table of Contents
ToggleStart With a Proper Paver Foundation
The best defense against paver weeds is built into the project before the first paver is set. A paver surface needs more than attractive stone on a level patch of ground. It needs excavation to the appropriate depth, a compacted aggregate base, a properly graded bedding layer, secure edge restraints, and tightly filled joints.
When the base is thin, poorly compacted, or unable to drain, pavers can shift and create wider joints. Those openings catch soil, leaves, and moisture, creating a small but favorable place for weed seeds to grow. Movement can also loosen the joint material over time, which makes the problem worse.
Drainage deserves particular attention in coastal Virginia. Water should move away from the home and avoid pooling across the paver surface. Standing water does not directly create weeds, but it keeps joints damp, encourages moss, and carries fine sediment into gaps. A patio that drains correctly is easier to maintain and more comfortable to use after a storm.
Edge restraints matter, too. They hold the outer pavers in position so the entire field remains tight. Without them, outer rows can gradually spread, joints can open, and the patio may begin to lose its crisp, finished appearance.
How to Prevent Paver Weeds With Joint Sand
Joint material is often the difference between a paver installation that stays neat and one that needs constant attention. After the pavers are installed, the joints should be filled completely with quality sand. Many homeowners choose polymeric sand, which contains binders that firm up when activated with water.
Properly installed polymeric sand helps lock pavers together while making it harder for weed seeds to settle and establish roots. It is not a permanent force field. Heavy rain, pressure washing, freeze-thaw cycles, and normal foot traffic can gradually wear it down. Still, it can substantially reduce weed growth when the joints are filled correctly.
The application process matters as much as the product. Joints need to be clean and dry before sand is swept in, and the surface must be compacted so the material settles fully. Excess sand should be removed from paver faces before the final light watering. Too much water or poor cleanup can leave a haze, while too little can prevent the binders from setting properly.
If a patio has older, empty, or crumbling joints, re-sanding is often more effective than repeatedly spraying weeds. It addresses the condition that is allowing debris and seeds to collect in the first place.
Keep Debris From Becoming Soil
Paver joints do not need much organic material to support a weed. Windblown leaves, grass clippings, mulch, pine needles, and dust slowly break down into a thin layer of soil. Once that happens, even narrow joints can support weeds.
A quick sweep every week or two during the growing season makes a noticeable difference. Focus on edges near planting beds, fences, and lawn areas, where debris tends to gather. After storms, remove leaves and standing debris before they settle into joints.
Be thoughtful when mowing and edging near hardscape. Blowing grass clippings across a patio may save a minute, but it deposits seeds and organic matter directly where they can cause trouble. A mower or string trimmer should not scalp the lawn along paver edges either, since loose soil can wash onto the surface during the next rain.
Mulched planting beds beside a patio should be contained neatly. Overfilled beds and loose mulch are common sources of material that ends up between pavers. A clean edge between the bed and hardscape improves curb appeal and reduces maintenance at the same time.
Remove Small Weeds Before They Spread
Even a well-built patio may get an occasional weed, especially during a wet Virginia spring. Handle it while it is small. Young weeds have shallow roots and are easier to pull without disturbing the surrounding joint sand.
For a few isolated weeds, hand pulling after a light rain can work well. Grip as close to the joint as possible and pull steadily to remove the root. Follow with a small amount of replacement joint sand if the process leaves a visible void.
For larger outbreaks, a targeted post-emergent weed treatment may be appropriate. Choose a product labeled for the weeds present and follow its label directions exactly. Avoid spraying on windy days, near desirable plants, or where overspray could reach lawn areas. Some products can discolor surfaces or damage surrounding turf and landscape plants, so spot testing and careful application are wise.
Household remedies such as vinegar, salt, or boiling water are often presented as simple alternatives. They can damage weeds, but they also have limitations. Vinegar can harm nearby vegetation, salt can affect adjacent soil and plant health, and boiling water may be impractical on a large patio. These approaches do not replace joint maintenance or correct drainage and installation problems.
Use Pressure Washing Carefully
Pressure washing can refresh pavers, but it can also remove the joint sand that helps prevent weeds. A powerful narrow stream directed into the joints may leave them hollowed out, especially on older patios.
If you pressure wash, use moderate pressure and keep the nozzle moving. Aim across the paver surface rather than directly down into each joint. After cleaning, inspect the patio for low or empty joints and replenish sand as needed.
For heavily stained, mossy, or neglected hardscape, professional cleaning and re-sanding can be the better choice. The goal is not simply to make pavers look bright for a day. It is to clean the surface while protecting the structure that keeps it stable and weed-resistant.
Check Irrigation and Drainage Around the Patio
Irrigation can quietly contribute to paver weed problems when sprinkler heads are aimed onto hardscape. Frequent overspray keeps joints wetter than necessary, washes fine material around, and can lead to algae or moss in shaded areas.
Walk the property while the irrigation system is running. Sprinkler heads should water turf and planting beds, not patios, walkways, or driveways. A minor nozzle adjustment can reduce water waste and help the hardscape stay cleaner.
Also look for places where downspouts, landscape grading, or bed runoff direct water across pavers. Water should be managed before it reaches the patio whenever possible. Correcting the source is more effective than treating the symptoms every few weeks.
Build Paver Care Into Each Season
Paver maintenance is usually easiest when it becomes part of regular yard care. In spring, clear winter debris, pull early weeds, and inspect joints after heavy rains. Summer calls for routine sweeping and quick action on new growth. In fall, remove leaves often enough that they do not decompose in the joints. During winter, check for settling, washouts, or pooling water after storms.
This rhythm also gives you a chance to notice larger issues early, such as spreading pavers, failed edging, low spots, or runoff from a nearby bed. Those are installation or drainage concerns, not just weed concerns, and they are best repaired before they affect the appearance and function of the whole space.
A well-designed patio should make your home feel more like home, not create another weekend chore. If weed growth keeps returning despite regular care, Year Round Lawn Maintenance can evaluate the paver joints, drainage, edging, and surrounding landscape conditions to help identify the real cause. A clean, stable hardscape begins with sound workmanship and stays that way through timely attention to the details.